EN
EN
How To Calibrate Remote Signal For Lawnmower rc
When an rc lawn mower feels slow to respond, loses a command, or will not move after startup, it is tempting to blame the remote immediately. In practice, calibration is a controlled setup task: confirm the machine is safe, verify power and pairing, then test the radio link in a clear area. This guide gives a model-neutral method for checking an rc lawn mower remote signal without inventing settings that belong only in the manufacturer’s manual.
As a practical technical explainer for remote mowing equipment, I would start with operating conditions rather than buttons. A clean controller cannot compensate for a low machine battery, a damaged antenna, a blocked safety interlock, or an unsafe test area. The goal is not to force an rc lawn mower to move; it is to establish a predictable link before mowing begins.
Start With the Manual and a Safe Test Area
Every rc lawn mower can use a different bind sequence, signal indicator, emergency-stop logic, and calibration menu. Use the current manual for the exact model as the authority for button combinations, indicator meanings, and permitted adjustments. Do not substitute a procedure from another mower, transmitter, or online video.
Before working on a lawnmower rc controller, park the machine on level, open ground. Keep people, pets, vehicles, slopes, ditches, loose debris, and obstacles outside the test zone. Disengage the cutting system if the manual permits a signal-only test. Confirm that the emergency stop is accessible and that you know how to shut down both the controller and the machine. A sensible pre-operation check includes the site, mower, remote link, emergency controls, weather, and exclusion area.
- Place the rc lawn mower where the drive system cannot surprise anyone.
- Inspect the controller case, sticks, switches, battery cover, antenna, and charging contacts.
- Inspect the mower’s receiver area and visible wiring only with power off.
- Remove moisture, grass buildup, or dirt that could hide damage or obstruct controls.
- Stop and seek qualified service if insulation, connectors, or housings are damaged.
Check Power Before You Call It a Signal Problem
Many apparent calibration faults on an rc lawn mower are power faults. Charge the handheld controller and the mower battery according to the manual, then confirm their charge or voltage indicators are within the maker’s approved operating range. Do not use a charger, battery pack, or replacement fuse that the manufacturer does not approve.
Turn the remote and mower on in the order specified by the manual. Watch for normal startup lights, display messages, or audible cues. If the controller powers on but the mower does not complete its own startup checks, calibration is not the next step. Record the indicator state, power down safely, and check the manual’s troubleshooting section or contact the supplier.
How to Reconnect or Calibrate the Remote Link
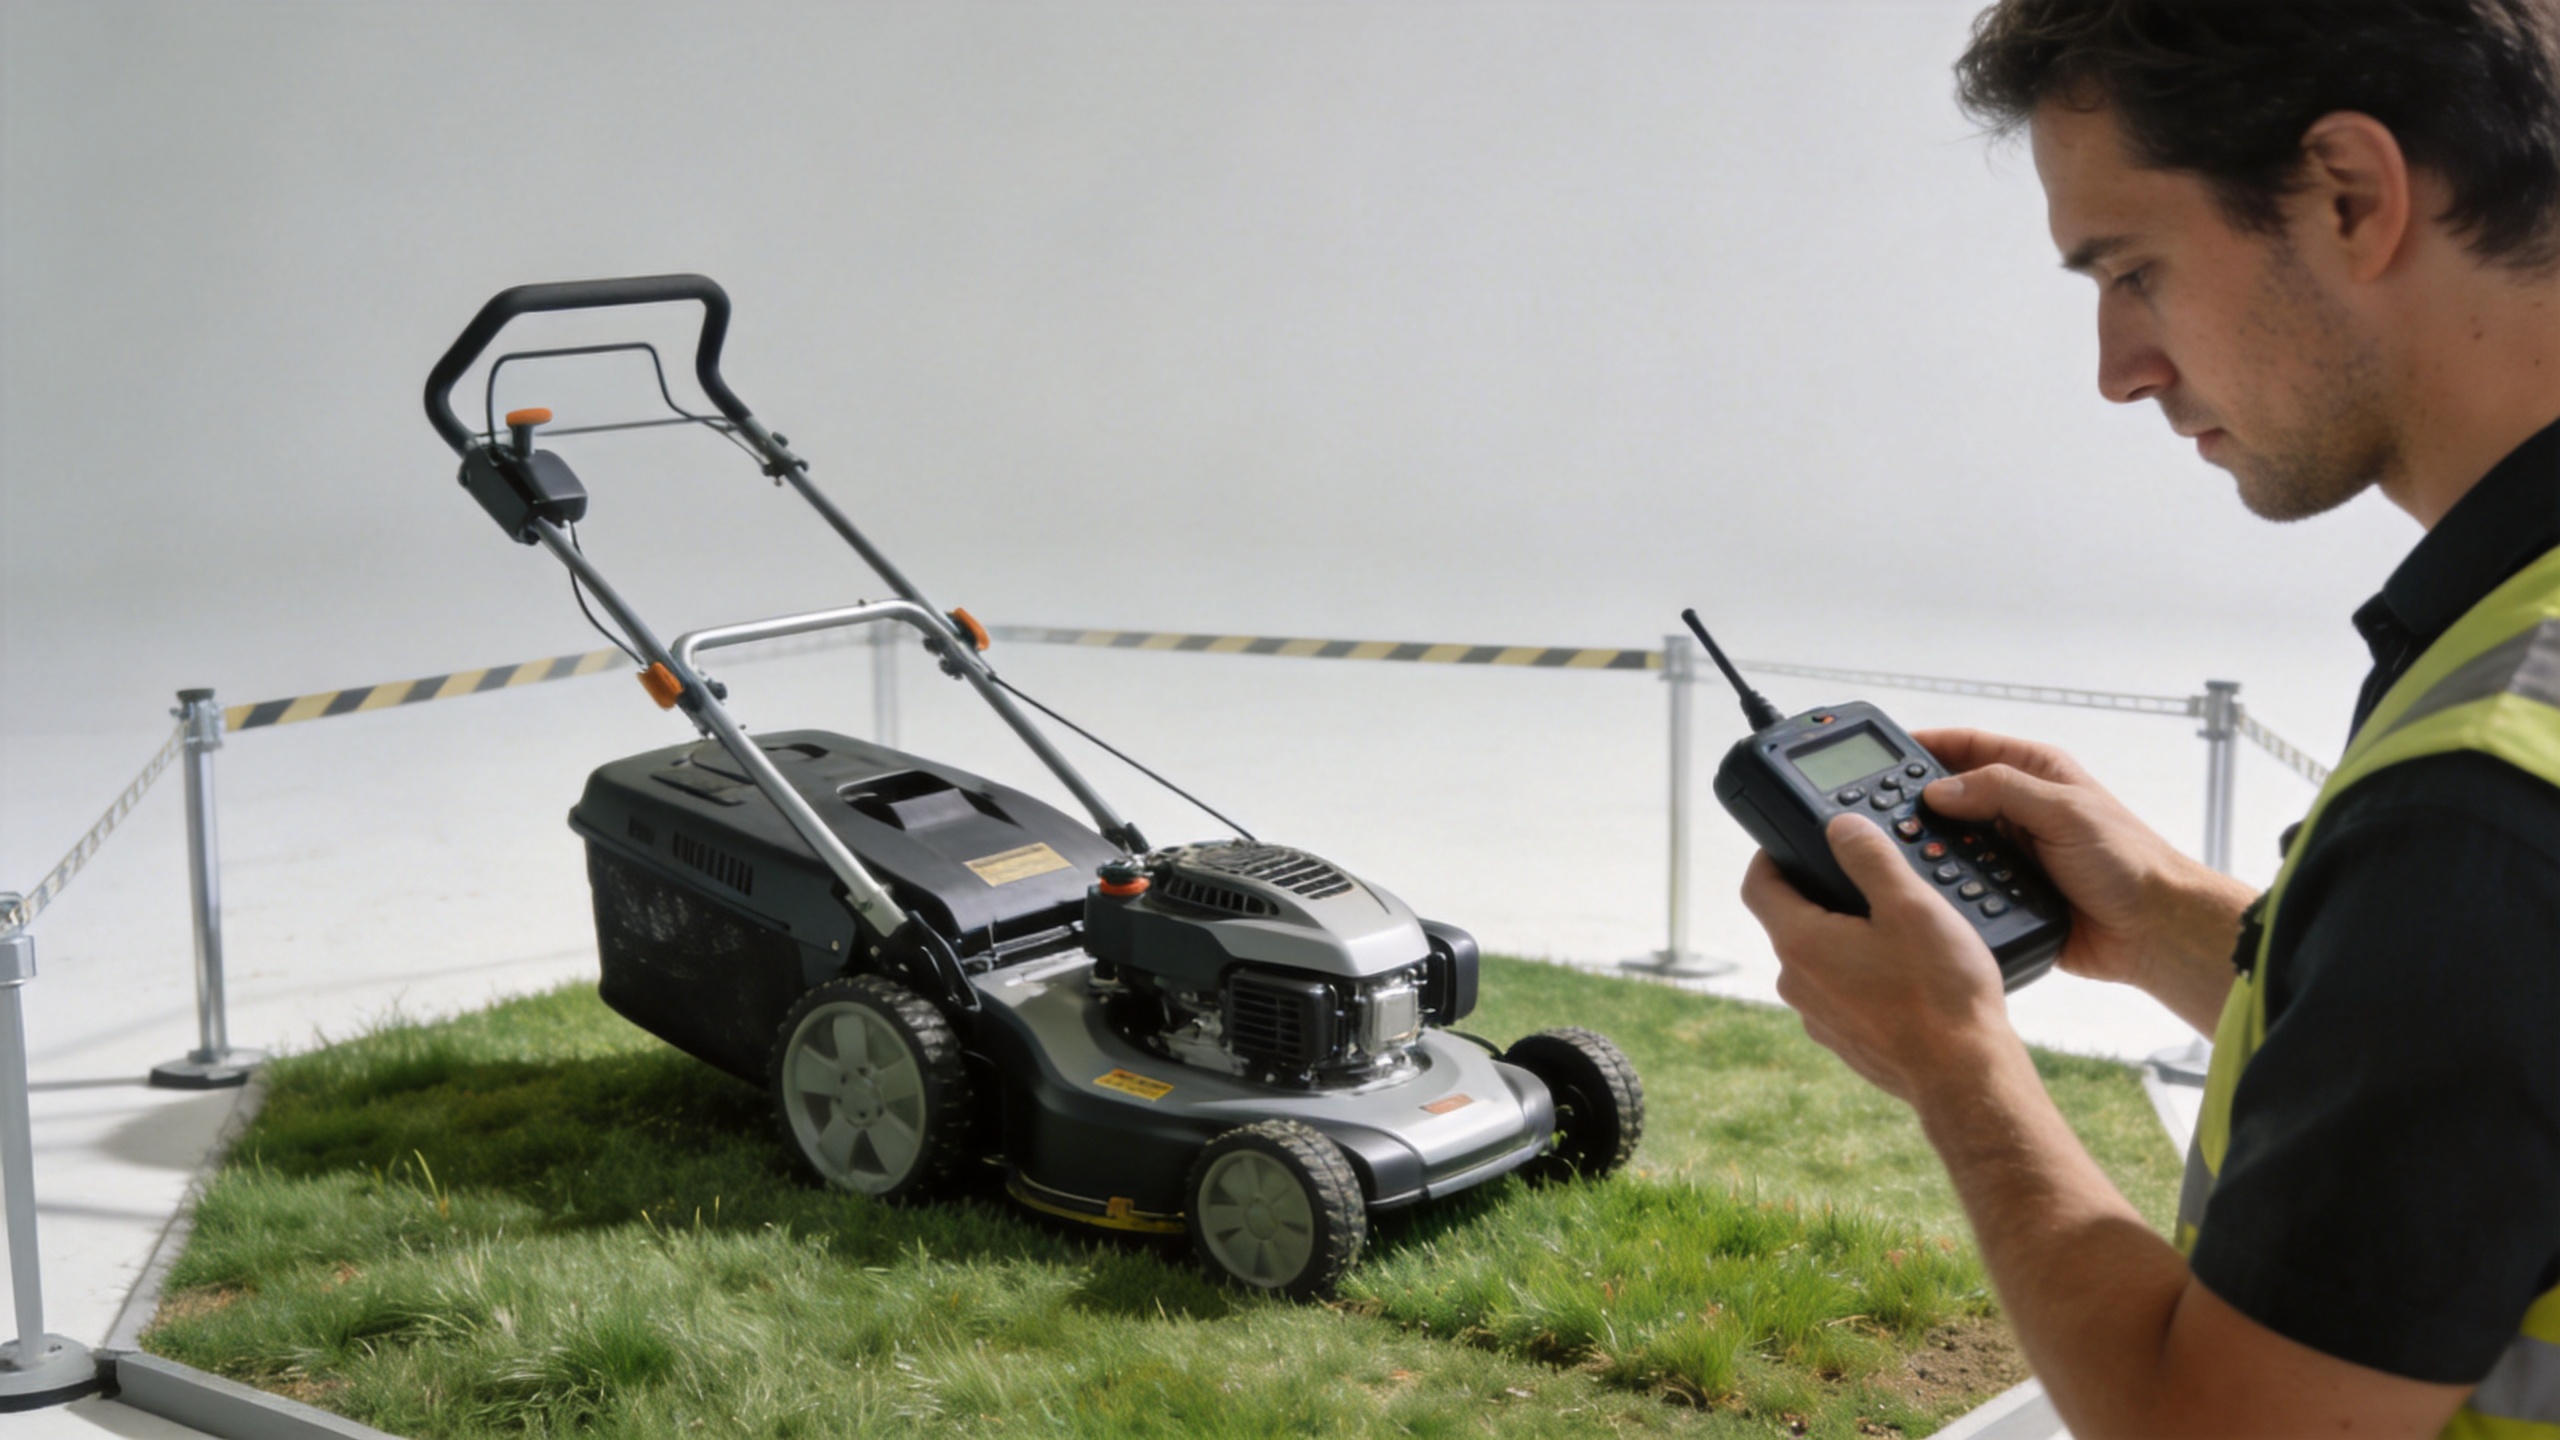
Once the area and power checks are complete, follow the model-specific bind or calibration procedure. Some machines call this pairing, linking, binding, neutral calibration, or transmitter matching. The names differ, but the sequence should remain deliberate.
- Set travel sticks and speed controls to the neutral positions specified for the rc lawn mower.
- Make sure any blade-enable, drive-enable, or mode switch is in its safe starting position.
- Power the controller and mower in the prescribed order.
- Enter pairing or calibration mode only as directed in the manual; do not guess by holding random buttons.
- Wait for the documented confirmation light, tone, or display message before issuing movement commands.
- With the cutting system disabled where allowed, test forward, reverse, steering, and stop at very low speed.
- Test the emergency stop from the operator position, then reset it only after the mower is fully stopped.
For a lawnmower rc system, neutral calibration is especially important. If a stick is not centered when the receiver records neutral, the rc lawn mower may refuse to arm or may interpret a later command incorrectly. Center the controls with the controller resting on a stable surface; do not hold a stick against spring pressure while confirming calibration.
Rule Out Interference and Range Issues
Radio-controlled equipment can be affected by its surroundings. Wireless devices operate in radio-frequency environments, so treat a new signal problem as something to isolate methodically, not something to override. Move the rc lawn mower test away from large metal structures, active machinery, dense electrical installations, and clusters of wireless equipment when practical.
Keep the controller antenna in the orientation required by its manual. Do not wrap it in your hand, modify it, or use an unapproved booster. Start close to the mower, with a clear line of sight. If the link is stable nearby but unreliable farther away, do not continue mowing at extended distance. Note the distance, terrain, weather, nearby equipment, and warning indicators, then ask the manufacturer or an authorized technician to evaluate the issue.
Test the Controls in a Useful Order
After a successful rc lawn mower link confirmation, test only one function at a time. First verify stop and neutral behavior. Then try low-speed steering and short forward/reverse movements. Leave blade engagement or work-mode testing until the manual’s safety conditions are met. This sequence separates a communication issue from a drive, safety-interlock, or mechanical issue.
| What you see | First safe check | What not to do |
|---|---|---|
| No connection indication | Confirm charge, startup order, and correct pairing instructions. | Do not bypass a safety switch. |
| Connection drops during a test | Stop, reduce distance, inspect the area for interference, and check warnings. | Do not keep driving to see whether it recovers. |
| Mower will not arm after pairing | Check neutral controls, emergency stop, covers, and required interlocks. | Do not force a calibration sequence. |
| Movement does not match input | Stop and repeat the documented neutral or control calibration. | Do not test near a slope or obstacle. |
When to Stop Troubleshooting
Stop using the rc lawn mower if it moves unexpectedly, fails to stop promptly, repeatedly loses the link, shows damaged components, or displays a persistent fault. These are not conditions to solve by repeated calibration. A remote system is only useful when the operator can predict its response and preserve a safe exclusion area.
When you contact support, provide the mower model and serial details, controller version if shown, warning codes, startup order used, battery status, test location, and the exact point where the rc lawn mower stopped responding. That information is more useful than saying the signal is “weak,” and it helps distinguish a pairing issue from a service issue.
A Short Pre-Mowing Signal Checklist
- Read the current model-specific instructions for the rc lawn mower.
- Check the work area, weather, exclusion zone, and emergency stop.
- Confirm approved batteries are charged and connectors are undamaged.
- Verify neutral controls and complete the documented pair or calibration process.
- Perform a close-range, low-speed control test before beginning the mowing task.
- Stop immediately if the remote link becomes inconsistent.
Calibrating remote signal for a lawnmower rc setup is not about finding a universal button sequence. It is about using the correct manual, creating safe test conditions, confirming power and pairing, and refusing to operate when the link is uncertain. That routine makes an rc lawn mower signal check more repeatable and keeps safety ahead of convenience.